Multi-Level Decks: Transitioning Railing Heights Between Upper and Lower Steps
Designing multi-level decks requires careful planning to ensure safety and structural integrity when transitioning railing heights between upper and lower steps. When your outdoor living area features distinct elevations, the way you connect your guards and handrails determines both the aesthetic appeal and the legal compliance of the build.
Homeowners often struggle with the geometry of these transitions, especially where a staircase meets a landing or an upper platform. By understanding standard building codes and structural requirements, you can create a layout that flows safely from one tier to the next while enhancing your home’s exterior.
The primary rule for transitioning railing heights is that the guardrail must maintain a consistent, uninterrupted height relative to the walking surface, usually between 34 and 38 inches. When you move from an upper deck to a lower step, the railing must either terminate into a new post or follow the slope of the stairs as a graspable handrail.
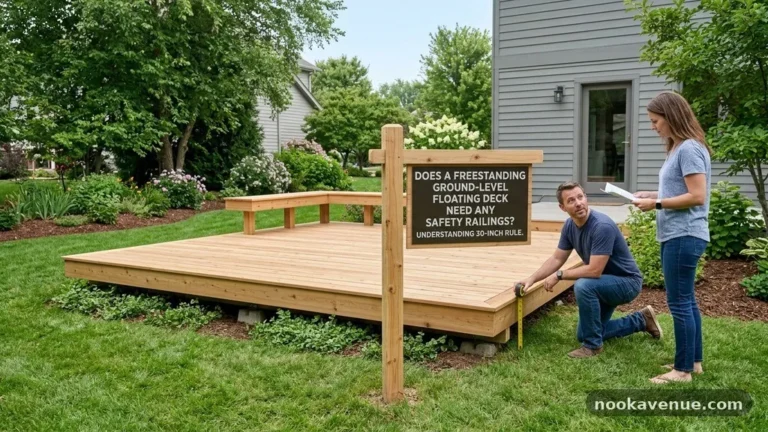
You cannot simply leave a gap in the protection. Most local building codes require that any vertical drop greater than 30 inches necessitates a guardrail, regardless of whether it is an upper or lower level.
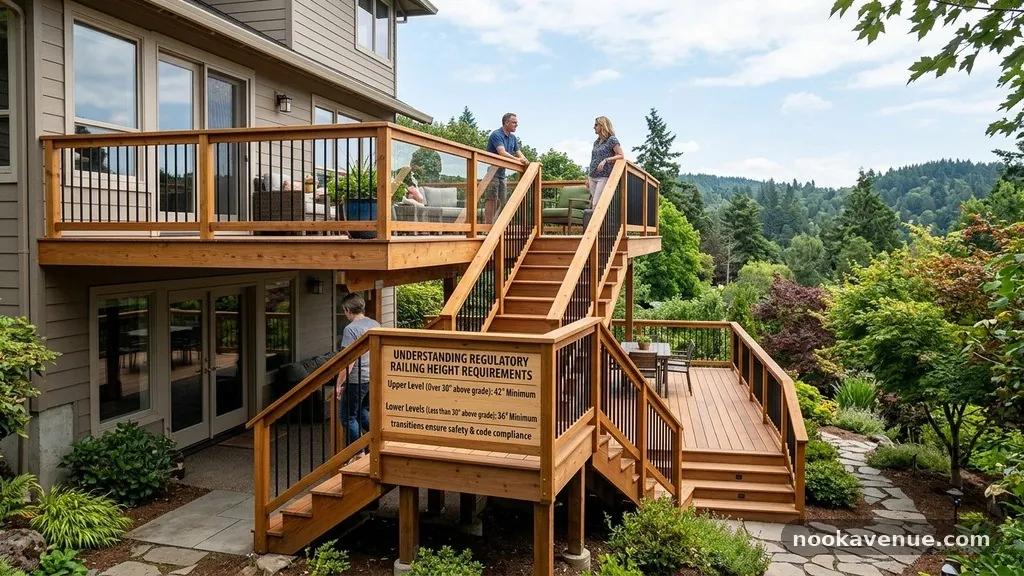
Understanding Regulatory Height Requirements
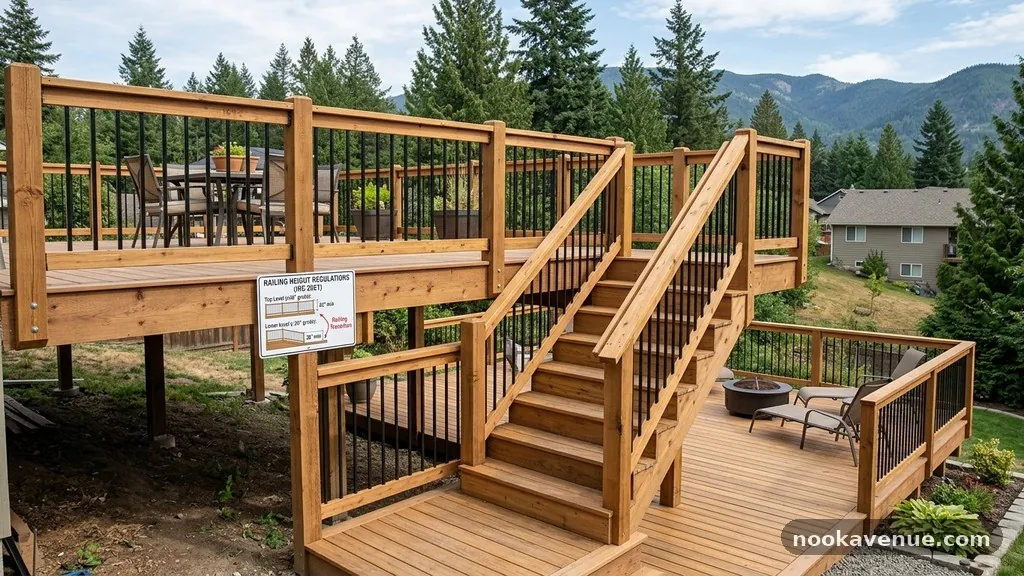
Safety codes dictate that guardrails on residential decks must typically be at least 36 inches high, measured from the deck surface to the top of the rail. This measurement is not arbitrary; it is designed to prevent accidental falls from elevated surfaces.
When transitioning between tiers, you must maintain this height consistently across the transition point. If your design moves from a 36-inch guard to a stair railing, the stair railing height is often measured vertically from the nose of the stair tread.
Consistency is the most vital factor when inspectors review your project. If the guardrail height drops significantly at a corner or a transition point, it creates a potential hazard and a failure point during an inspection.
Always check your local International Residential Code (IRC) standards, as specific municipalities may have stricter requirements than the national baseline. Never assume that a standard design from a magazine will automatically pass local building codes without verification.
Managing Structural Transitions at Stair Landings
The point where a staircase lands on a lower deck level represents the most common area for railing height errors. You must ensure that the transition from a vertical guardrail to an angled stair rail is smooth and secure. The handrail must be graspable, meaning it should have a profile that a hand can easily wrap around, often requiring a different size or shape than the top rail of the guard.
When the staircase meets the lower level, you should terminate the stair railing into a structural post that also supports the guardrail for the lower deck. This creates a unified appearance and provides the necessary strength to support the railing system.
Avoid “floating” transitions where the railing ends in mid-air or relies on flimsy attachment points. Every end of a railing must be returned to a post or a wall to ensure it doesn’t snag clothing or become a tripping hazard.
Calculating Guardrail Continuity
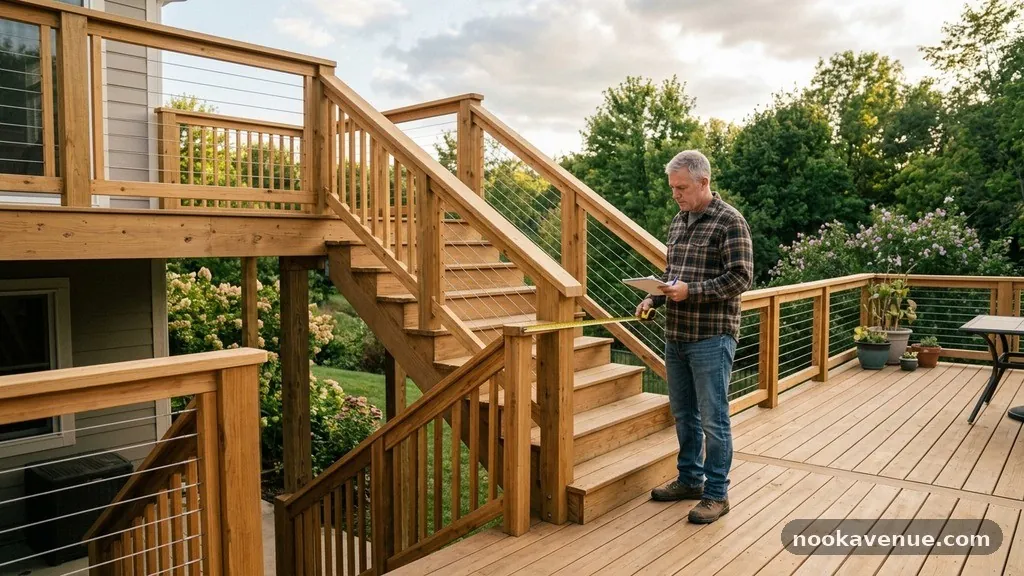
Continuity is essential for safety, especially for elderly users or young children. You should never have a gap in your railing that exceeds 4 inches, as this is the standard spacing requirement to prevent heads or limbs from getting stuck. When you transition from a high level to a lower one, ensure that the vertical infill or balusters continue without creating a large opening.
Many builders use a “volute” or a decorative end cap to finish the transition between the stair rail and the horizontal guardrail. This allows the rail to change direction while maintaining a continuous path for the hand.
It also adds a professional, high-end look to your deck design. If you are using composite materials, ensure you use the manufacturer-approved mounting brackets to maintain the structural rating of the rail system.
Comparing Railing Material Performance
The material you choose for your multi-level deck significantly impacts how you handle transitions. Wood, for example, is easier to field-cut and customize, allowing for intricate joinery at awkward angles. Composite and metal railing systems are more rigid, often requiring specific hardware kits to handle changes in height or direction.
| Material Type | Transition Flexibility | Maintenance Level |
|---|---|---|
| Pressure-Treated Wood | High (Custom cuts) | High (Annual sealing) |
| Composite/PVC | Medium (Requires kits) | Low (Cleaning only) |
| Aluminum/Metal | Low (Factory pieces) | Very Low |
Each material has unique constraints regarding the distance between posts. Aluminum systems, for instance, often come in fixed panel widths, which can make transitions at odd-angled stairs more difficult. If you have a complex layout with multiple levels, wood or high-end cable railing systems might offer more flexibility for custom height adjustments.
Framing Considerations for Multi-Level Decks
The framing beneath your decking boards must be robust enough to support the posts that anchor your railing transitions. When you have a step down between levels, the rim joist of the upper level and the framing of the lower level must be properly blocked. This blocking provides a solid surface to bolt your railing posts.
Never attach a railing post solely to the deck surface boards, as this will lead to a wobbly rail over time. The post should be bolted through the rim joist or held in place with internal blocking that connects directly to the deck frame.
This is especially true at transition points where the railing will experience significant lateral force. Taking the time to properly frame these connections is the difference between a long-lasting deck and one that requires constant repair.
Addressing Stairway Geometry
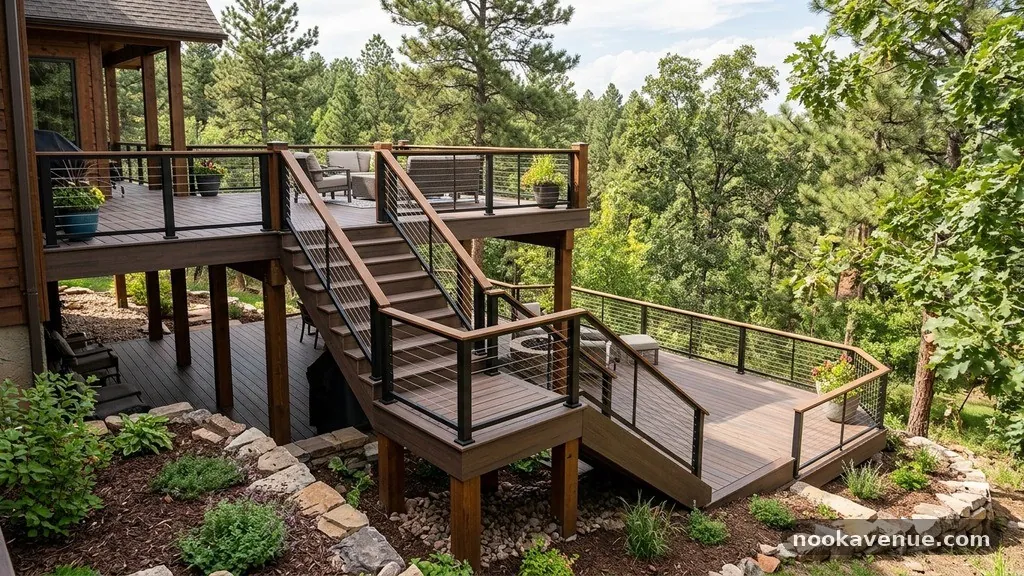
The angle of your stairs determines the height of your handrail relative to the tread depth. According to most codes, the handrail height for stairs must be between 34 and 38 inches. If your stair angle is steep, the transition from the upper deck guardrail to the stair rail will be more abrupt.
You should map out your stair run before finalizing your railing plan to ensure you have enough room for the transition. A common mistake is failing to account for the space required for a newel post at the top and bottom of the stairs.
If the stairs are too close to the edge of the deck, you may not have enough space to install a proper transition post. Always leave at least 6 to 12 inches of clearance around the top and bottom of the stairs to accommodate these structural elements.
Integrating Lighting into Transitions
Lighting is a practical and aesthetic addition to any multi-level deck, especially around transitions and stairs. Recessed riser lights or post-cap lights can highlight the change in elevation, preventing falls at night. When running wiring for these features, ensure that the cables are protected and not pinched by the railing hardware.
You should plan your electrical layout before you finish the decking or install the railings. Running wires through the joists is much easier during the framing stage than after the deck is completed.
Using low-voltage LED systems is generally safer and more energy-efficient for outdoor spaces. These systems are also easier to install in tight spaces like post-to-stair transitions.
Common Mistakes in Railing Transitions
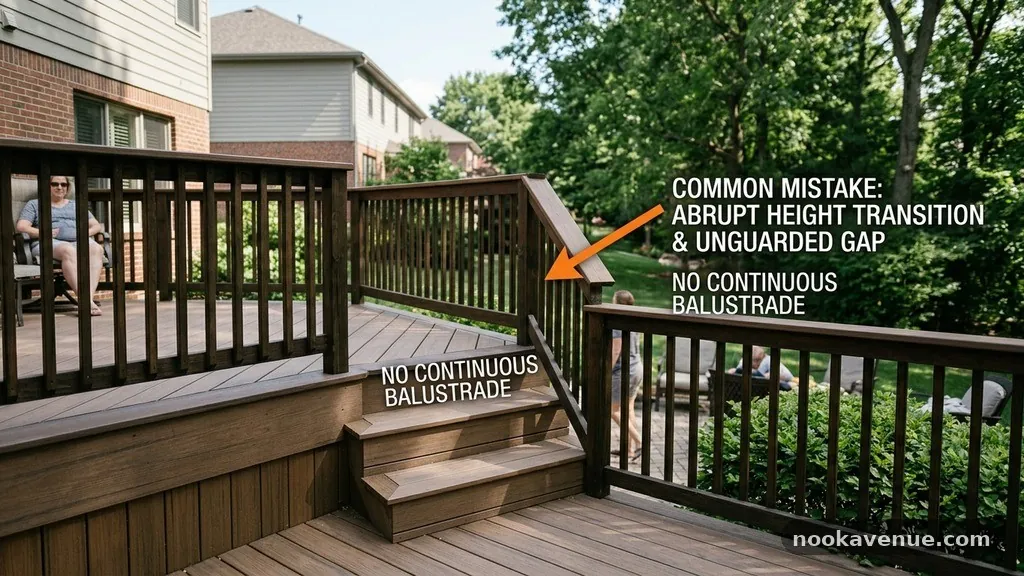
One of the most frequent errors is failing to account for the “rake” of the stairs when calculating railing heights. The rail must follow the slope of the stairs, which often means the top rail will be at a different angle than the horizontal guard on the main deck. You must use specialized transition brackets that allow for this change in pitch.
Another common mistake is using incorrect fasteners for the material. If you are mixing materials, such as a metal railing on a wood frame, you must ensure that the fasteners are compatible to prevent corrosion.
Galvanic corrosion can occur when dissimilar metals touch, especially in wet outdoor environments. Always use high-quality, weather-resistant screws or bolts rated for exterior use to ensure the safety of your railing system.
Selecting Appropriate Railing Profiles
The profile of your railing determines how easy it is to grip, which is a major safety factor. A rounded or oval profile is generally better for a handrail than a square or flat-topped profile. If you are using a square guardrail, consider adding a secondary, graspable handrail mounted to the side of the post for the stairway portion.
This combination of a structural guard and a dedicated handrail is often the best solution for complex multi-level decks. It ensures that the guard meets code for height and safety, while the handrail provides the necessary grip for navigating the stairs. This approach also allows you to use different materials for the aesthetic elements while keeping the functional rail consistent.
Essential Components for Deck Railings
When planning your purchase, ensure you have all the necessary hardware to connect your railing to the posts and to transition between levels. A comprehensive list of materials will prevent mid-project delays.
- Structural posts (4×4 or 6×6 for wood, or metal sleeves for composite)
- Top and bottom rail sections
- Balusters or glass panels
- Angle-adjustable brackets for stair transitions
- Structural bolts and lag screws (galvanized or stainless steel)
- Post caps and finishing trim for a polished look
- Handrail return kits for safety at stair ends
Having these items ready before you start the installation will make the process much smoother. Don’t underestimate the number of fasteners required, as you will likely need more than you initially anticipate.
Frequently Asked Questions
What is the minimum height for a stair handrail?
The handrail height on stairs must be between 34 and 38 inches, measured vertically from the nose of the stair tread. This ensures that the rail is at a comfortable and safe height for someone walking up or down the stairs.
Can I use the same rail for a guard and a handrail?
Sometimes, but only if the profile is graspable and meets the height requirements for both the guardrail and the stair handrail. If your guardrail is a wide, flat board, you must add a secondary, graspable handrail for the staircase portion to meet building codes.
How do I handle the transition between a high deck and a low deck?
You should terminate the high-level guardrail into a structural post and begin the new guardrail for the lower level from the same post. This provides a clean, safe transition point that complies with most building codes for continuity.
What is the maximum gap allowed between balusters?
The maximum space allowed between balusters is 4 inches. This is a standard safety requirement designed to prevent children from getting their heads stuck between the vertical members of the railing.
Is it necessary to have a permit for a multi-level deck?
In most jurisdictions, yes. Because multi-level decks involve significant structural changes and safety considerations, local building departments almost always require a permit and subsequent inspections to ensure the build meets safety standards.
Final Thoughts on Deck Design
Building a beautiful and safe deck requires attention to detail, especially when managing the transitions between different levels. By focusing on the structural requirements for guardrails and the ergonomics of stair handrails, you create a space that is as safe as it is inviting. Whether you are adding a new level to your existing backyard or starting a complete renovation, remember that the quality of your connections dictates the longevity of your outdoor living area.
Always prioritize safety by following local codes and using high-quality materials suited for exterior use. With careful planning and the right approach to your multi-level decks, you will enjoy a functional and stylish outdoor space for years to come. If you have questions about specific local requirements, consult your municipal building department before you start your project to ensure you are on the right track.